Friday, 19 May 2017

Helix Design and Building

 Helix Design

I have a minimum radius of 26 Inchs on my layout, so i made sure this followed into the helix.

I used AutoCAD a computer drafting package to aid with the Design of the curves and the templates.  for the Supports i used 12mm threaded rod, i would have preferred to have used 10mm, but the company i work for had 12mm laying around so i was not going to complain.

The Bed is made from 12mm chipboard which is cheap and strong enough to span the gap.  The bed is 175mm  (7inch) wide.
The reason i used screwed rod was the ease to adjust the height of the bed at each level, by just turning the nuts.  And it does drive you nuts screwing down each one to the correct level from the top.  I worked out turning them in pairs was the best way, as the bottom one clamped the board in place and the second became the support for the one above.


I started by building the first turn and setting out the rod points by widening the board where the rods would be fixed, so as not to affect the clearance of the loco and rolling stock.  I used the first turn as a template for the next six levels, and it has worked very well.


Once the first turn was in i laid the track and added droppers for power,  I solider each length of Flexi track once in place. Once i have full tested the complete helix i plan to use white glue watered down to complete the fixing, then add a few cuts to allow for expansion
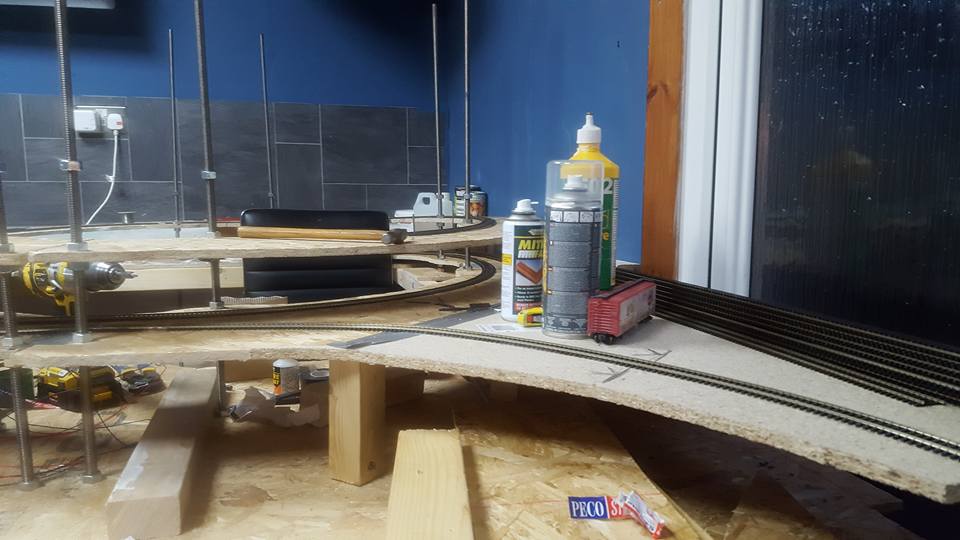

This pictures show the entrance ramp from the yard onto the Helix,  the back line is a run around, to allow access to the back of the yard, and the holding sidings.

 The Rods are about 2 inches longer than they need to be, so will be cut down where needed

On the third loop the track comes off for a run around with two large sidings to hold Loco's, you can just see the off track on the right hand side. This track comes back on at the fourth loop, so i need to make the 75mm height different up before i get to the Helix


The outside track is my Up track to take me to each level, coming on and off where needed, You can not go from the bottom to the top on the outside track is it forces you to come off at each level.  The inside line comes from the top all the way down to the bottom into the yard.  This took away the need for any points on the helix,  there is also no way two trains can meet going opposite directions, so should help greatly with operation.

This is how my Helix stands just now.  I have a loop and a half until its finished and i will have reached my top level.

The last picture on the Left shows where you come off the Helix into the Yard, the Wifes soup tins come in very handy.

I am very pleased with the progress so far and have to thank David Ross for the help with the Design and setting up.

This weekend should see the Helix finished so will update again on Monday


Tuesday, 9 May 2017

Baseboard Construction, Helix Design


I have ripped all the old units out and the table in the middle, and the place is looking real bare

I have now installed my new workbench below my window.  The lowest track level you can see runs across here, with a small spur for a Programming track.

The wall on the left will hold my St. Leonard Yard there will be two holding tracks, the main and 4 yard tracks.  The Baseboards at the back take my lines off the Helix onto the yard.

This is the framing for the Roundhouse and turntable, which is 150mm lower than the yard to the left.  Each segment will have shelving and storage.

Once this Area is boarded out i will be able to start the Helix

Tuesday, 2 May 2017

New Track plan

New Track Plan

Its fair to say i change my mind alot, worse then a woman i have heard before.

So with that in mind, I have stopped all my On30 Layout Building took all my stuff and Sold it to Mac's Models, for a very good price.


As mentioned before i have a 4m x 3.5m Shed in the Back garden, which i have full power lighting and heating,  after what seemed like an all to easy chat with my wife, i was given full permission to built a Static layout in there so i can play trains.


Over the past year i have been planning my New HO American layout, by drawing it up in AutoCAD.

The main things i wanted was:-

Long Runs

Roudhouse and turntable.

Mountians

And a little switching

Which i am please to say i have managed to get all in and a little extra.

The layout will have a Helix in one corner and 4 running levels around the shed.

Level 1, will have a yard the full length of the back wall allowing for the biggest train i plan to run (Big Boy and 20 boxcars) to be stored.  I will also have my Roundhouse and turn table at this level , the round house sneaking under the Helix.

Level 2 will be a run around to add running length, this will sit about 5 inches above the main yard and will hug the wall.

Level 3 will also be a run around the will sit about 6 inches below the top finished level, this i plan to snake in and out, with the Track running along a river edge, disappearing in and out of tunnels.

Level 4 will be my top level and will hold all my industries,  So far i plan to have a Distillery, Steelworks and a Coal Mine, this will allow me to take the rolling stock from the yard at the bottom level and do a little switching.

I have also designed the track plan to allow for trains just to run, when i am not wanting to operate.


 So the Construction work begins :-)


Monday, 27 June 2016

PERTH SHOW 2016


 I was up at the Perth Model Show yesterday.  I had a good day catching up with a lot of different people that i had not seen for while.

There was one or two new layouts, most i had seen before,  and for my scale there was not a lot selling wise to buy, so my Wallet didn't take as big a hit as it did at the show in Glasgow.

This small On30 layout caught my eye as they were using real water for the waterfall along with a mister at the bottom of the fall, was very well done.  But i am not sure the guys in the boat enjoyed it much......
So on to my very least favorite part of the Hobby, wiring is the Wiring. I managed to finish the last point on the layout, so they are no all wired up.  I have made a start in running all the track droppers to Copperclad ready to take the Power Bus.  I am using the Gaugemaster Seep PM1, I find them to be very cheap and very easy to use.  Next steps will be lay a few more lengths of track then i need to sort the bridges out.  I picked up a few Detailing parts, some people, animals and Windows and Doors.  Along with some ballast.  

Saturday, 25 June 2016

Track Laying and Point Wiring


I am off to Perth Model Railway Show tomorrow....

I can't believe it was a year ago at this show that i bought the first lengths of track and the points i am now just getting around to fitting.
Talk about slow progress...


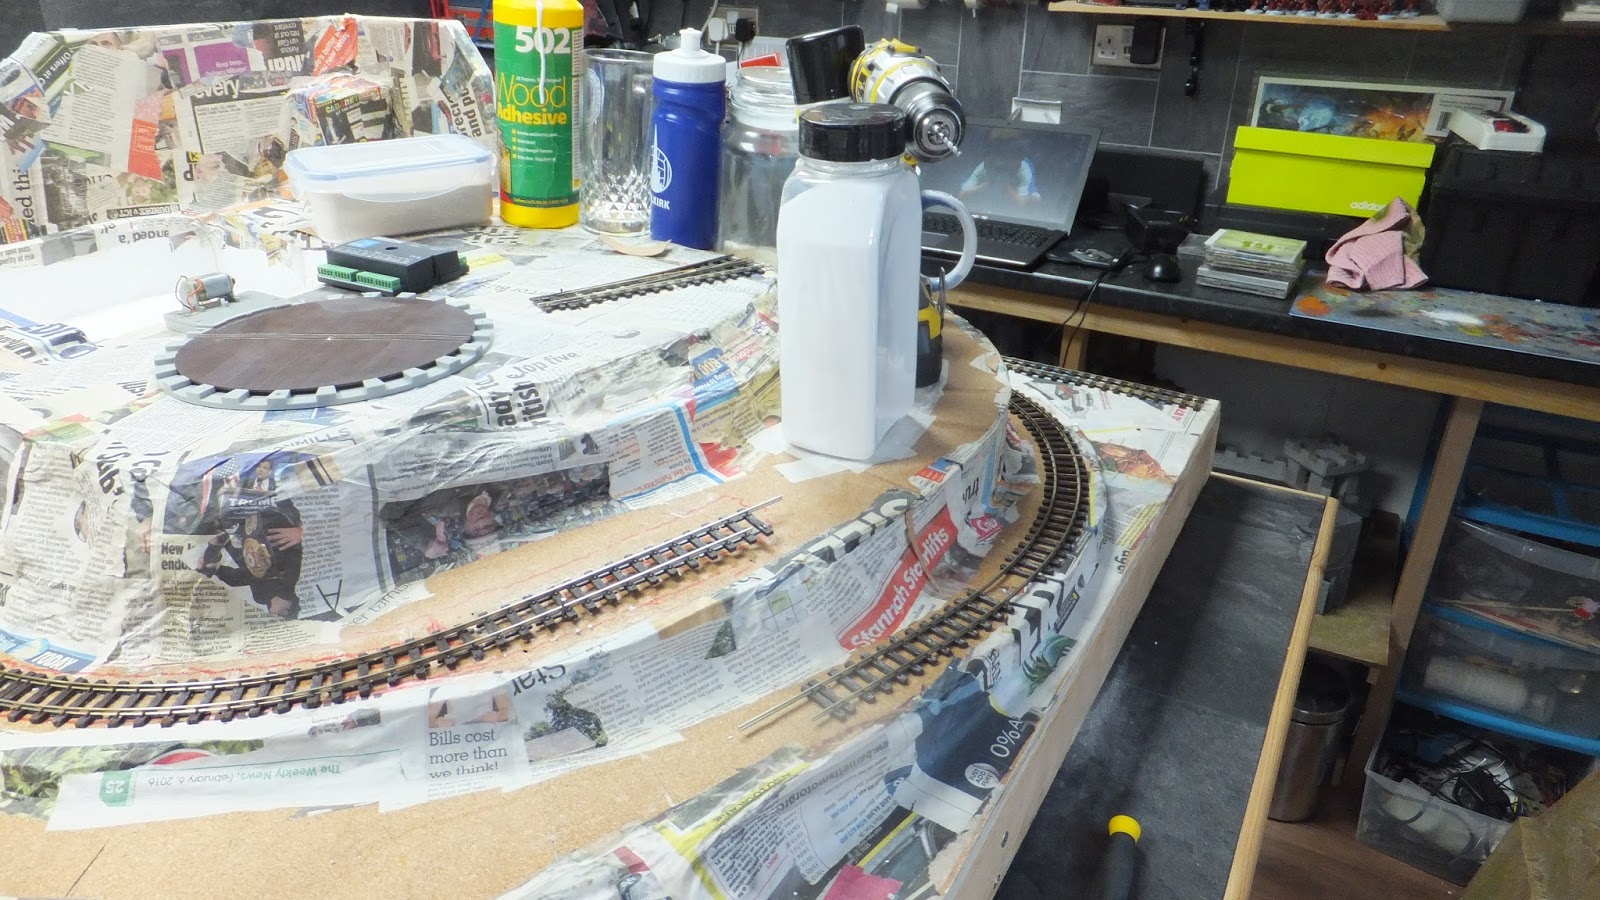
 Well a lot has been happening over the past few weeks,  i have a lot of the papermashie base on, and i have now finally started to lay track and fit points.

I had some help working out the wiring as this is my least favorite part of the whole model railway experience.  But i now have a very easy to follow wiring diagram and a colour system to follow.


 Over the past few days i have managed to fit 2 points, The first on the bottom of the layout at the back.  With will be my take off/put on track.  and because i am using the ECOS system it will also be my Programming track.  This will be the only point on the layout that is under the layout, with the rest being placed directly under the point.  This part of the layout was not on the original track plan, and was added only when i came to lay the track in this area.


The Second point i have fitted Takes you from the main loop up to the big white hole, which will become my Turntable pit.  I have fitted a clear piece of plastic card between the point motor and point, this will allow me to ballast around the point with out fear of affecting the motor.

There is quite a few gaps between the rails where i have soldered the droppers to the underside of the rails.  once i have played with the trains for a while or to give its official name 'test run'  i will add these in where needed.

I have a small shopping list of urgently required items for tomorrow, a right hand point, ballast mix, and some coloured wire.  I am also hoping to pick up some people and bits of scenic's but i shall see how things work out.

Anyway i am very happy with the Progress so far,  it seems to be moving along well.

Thursday, 16 June 2016

Yes that Is Track you See........ (Track Laying)


Well i took the leap, i have been putting this off for ages scared i might make a mess of it.  But finally the first 2 lengths of Track are down.

I now have all the Landscape base in place, and before i could do much more i needed to have the track laid where it will disappear into the Tunnel.

I drilled two holes in the baseboard to drop the wires through, and soldiered the wires to the underside of the rails.

Once i have  the ground cover and ballast in place these will not be seen at all.

I laid the Track using PVA (white glue) on to the cork base.  Using Panel pins to help hold the track in position and weighted it down with anything i could find. (My drill, some spray cans and a bottle of Limeade..)


                                                                              At both ends of the track will be a point so that is the next stage for me,  I need to look out the wiring diagrams  for the point motors also. once i am happy with the track position i will add the extra sleeps in to close the gaps up.  

I hooked up my Roco DCC system as a tester to see if things ran ok, and put my Little Porter on with a few Wagons to see how it would hand the curves and the slope.  The Porter had no problems but i think my Forney might struggle,  The Layout has been Designed to run Porters only, but i was looking for an option with the other types.  I will give it a run later to see if it will work, It might mean i need to tweek the track a little, but i would be worth it.  If i can't get the radius of the curves to work, It just means i will have to built another layout to run it......

So this is the first Video on my Porter Running up and down the track ;-)  No holding me back now.


Sunday, 12 June 2016

And the Paper Mashie Continues......

AND THE PAPER MASHIE CONTINUES......


With a Saturday morning free, i managed to get a few more layers of Paper mashie on the layout. I am now at a point where i can add track to the layout and might even see a loco run around the layout before the end of the year....


In this last picture i have added little rock outcrops, around where the trestle bridge will be (Honest....)  Once this has all dried of course ;-)