
I have a minimum radius of 26 Inchs on my layout, so i made sure this followed into the helix.
I used AutoCAD a computer drafting package to aid with the Design of the curves and the templates. for the Supports i used 12mm threaded rod, i would have preferred to have used 10mm, but the company i work for had 12mm laying around so i was not going to complain.
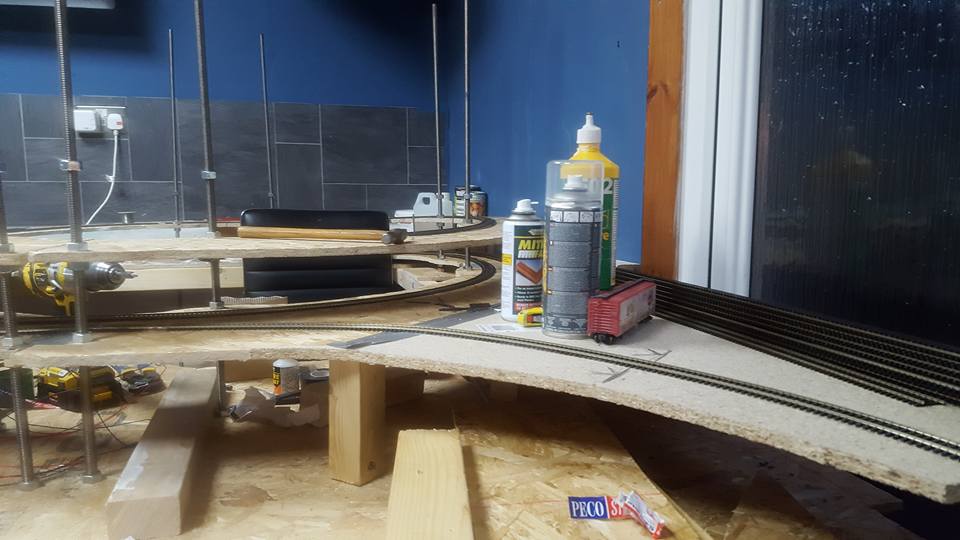
 The Bed is made from 12mm chipboard which is cheap and strong enough to span the gap. The bed is 175mm (7inch) wide.
The reason i used screwed rod was the ease to adjust the height of the bed at each level, by just turning the nuts. And it does drive you nuts screwing down each one to the correct level from the top. I worked out turning them in pairs was the best way, as the bottom one clamped the board in place and the second became the support for the one above.


I started by building the first turn and setting out the rod points by widening the board where the rods would be fixed, so as not to affect the clearance of the loco and rolling stock. I used the first turn as a template for the next six levels, and it has worked very well.
Once the first turn was in i laid the track and added droppers for power, I solider each length of Flexi track once in place. Once i have full tested the complete helix i plan to use white glue watered down to complete the fixing, then add a few cuts to allow for expansion
This pictures show the entrance ramp from the yard onto the Helix, the back line is a run around, to allow access to the back of the yard, and the holding sidings.

The Rods are about 2 inches longer than they need to be, so will be cut down where needed


The outside track is my Up track to take me to each level, coming on and off where needed, You can not go from the bottom to the top on the outside track is it forces you to come off at each level. The inside line comes from the top all the way down to the bottom into the yard. This took away the need for any points on the helix, there is also no way two trains can meet going opposite directions, so should help greatly with operation.
This is how my Helix stands just now. I have a loop and a half until its finished and i will have reached my top level.
The last picture on the Left shows where you come off the Helix into the Yard, the Wifes soup tins come in very handy.
I am very pleased with the progress so far and have to thank David Ross for the help with the Design and setting up.
This weekend should see the Helix finished so will update again on Monday
No comments:
Post a Comment