Wednesday 23 September 2015

Baseboard risers added


 USING AutoCAD i drew out a rough track plan at 1:1 scale and used a plotter at work to print them off.
This let me see how much space i had to fit things in and see how the curves were fitting in.  After speaking it over with a friend we made some changes and i printed version two out.


Cutting through the paper to mark the board below, i had a guide to follow when placing the woodland scenic risers,

I emptied out our cupboards of tins for weight to hold down the risers while the glue dried.

I used PVA wood glue on the underside polystyrene to attach them to the baseboards, and left them to dry over night.

I managed to get the inner ring in place, before i had to return the tins back to the cupboards...
With the weights removed i now have the start of the track heights.

I now have one four inch side in place and the starter blocks for the rise.
The next move is to put the outer ring in place and fill in the middle to bring it up to the level. then to cover it all with paper mashies to fill the holes.


Tuesday 15 September 2015

Baseboards, yes honestly


Yes, i can't quite believe it either, a Baseboard, its a long time coming.


Construction is 3x2 C.L.S. timber with 12mm plywood.  its 1200mm x 1200mm (4'x4')


The track plan i have base the layout on is 900mm square, so with this being 300mm bigger i hope i am able to make the turntable at the top, big enough to take a Shay.  Also i hope to add a dock with a siding for unloading the material the is Mined/logged from the top of the hill.


This is my template track plan which i will amended to suit what i need   I want to make the lead onto the turntable have a more gentle curve,  Add a few inch's to the turntable to allow maybe a shay with a wagon to be turned (but this is not important, as i will mainly be using porters.)  And along the bottom add a dock with a boat beside it.


Now onto the fun bit of designing the track plan proper and decided what structures are needed......

Sunday 23 August 2015

Brecken Mountain Railway - South Wales

On Holiday in South Wales went up to the Brecken Mountain Railway


The Loco was built in 1930 July in Philadelphia.
It worked most of its life in a Cement Factory in South Africa.  Where is was involved in a crash and written off.

The owner of the railway bought the wreck, shipped it back to the UK and had it restored.

 Its an Amazing trip and it takes about 30mins to reach the top, where you stop off, for the loco to be switched to the rear, which is now the front.

Sunday 28 June 2015

Perth (Scotland) Model Show - And a Start


I managed to get to the Perth Model Railway Show today, and picked up my first few bits of my layout.  A box of flex track, a left, right and y-point.  And a little un-lettered porter with sound.


 There was also 2 very nice layouts on show, which gave me some great idea's.


Thursday 11 June 2015

Track Planning


This is a good post, a very good post.  After a long time landscaping and building real buildings i get to post about my track plan.

I have had an idea for years, to build a small On30 mining layout about 4 foot square, after i found these pictures online.  I liked the idea of a small layout and the fact you can have a run round, which is handy at shows if you are speaking to people, you can still have something moving. 


This layout is only 3 foot square, and uses woodland scenic risers to achieve the height to take the track above the lower level.  I am hoping if i open the layout out to 4 foot square i can get a bigger radius to allow me to use shay's or climax loco's along with the porters.  
I am also going to make it look like is on an out crop into the lake, and build a small dock so the mined materials can be shipped to the local small town.  This gives the loco's somewhere to come from and go too.

On the top Plato i will place the mine and workshop/mining camp, along with the turntable, and lots of lights and moving parts.


The main loco stock will be porters like these, but the climax and shay loco's by bachmann are just to nice, to not have running on the layout also.
++++++++++++++++++++++++++++++++++++++++++++++++++++++++++++++++++++++++

The Workshop

I have now installed 2 of the shelving units, with a 3rd to be placed next to the left hand side unit.  i have picked up today the last 2 bits of worktop.  I also have 2 base units 1no. 600mm and 1no. 1000mm. to built to sit under the island worktop, That will leave my with just 2 1000mm base units to finish the storage area.   I now have a nice Purple colour on the walls.......  left over paint from the Kitchen, how clean it will stay i have no idea..


Tuesday 9 June 2015

So what is On30?


In the U.S. modelling in On30 involves using HO gauge track and points with O scale (1:48) models to represent 30" narrow gauge in O scale. Outside of the US this is sometimes called O-16.5. O scale is slightly different (1:43/7mm to the foot, or 1:45) in other parts of the world.
Modelling in O scale means that your models will be 1/4"=1 foot scale. It's important to remember that your buildings and figures will be roughly twice as large as HO. On30 modellers use HO gauge track to represent 30" gauge in O scale. This lets On30er's fit more layout in the same space as regular O gauge.
One advantage to modelling in this gauge is the availability of HO gauge locomotive chassis's and components such as trucks and couplers. You can also use HO gauge track components, though once getting into this gauge, most modellers use On30 flex track and turnouts, or hand lay their own track.

Another advantage is the availability of Bachmann's line of On30 ready-to-run models. These are well made and inexpensive models, and offer a wide variety of equipment.


Monday 8 June 2015

Bench work and Wallpaper - On30 Mining

Progress on the workshop.

The walls were papered this weekend to give a better finish, and as half of the building is for a summer house they will have to be painted.


I removed the shelf's i built above the workbench and will replace them with Kitchen wall units,  I will just be buying the framing just now the doors will follow when i have more cash.


I spent ages trying to workout how best to lay my workbenches out, and i have finally settled for this layout.  I hope it gives me enough space to construct my layouts.

So now its just down to buying another worktop, and the base units to go below the worktop.

I have two 600mm wall units to build and install over the next few days,  But before all that i need to paint the Ceiling and walls.

++++++++++++++++++++++++++++++++++++++++++++++++++++++++++++++++++++

With the workshop progressing nicely i am now thinking about the first layout i am going to build.  I have been hunting around for a track plan and a theme, and found a cracking small 3 foot by 3 foot layout to use as a base.  Its a small mountain mining layout with an inverted figure of 8, There is a small turntable with sidings to the mine and a blacksmiths workshop.  The Scale is On30 and the stock will be Bachman Porters with the mining ore cars and other scratch build wagons.

More to follow on this........

Wednesday 27 May 2015

Workshop Update

Workshop update.....

Inside of the workshop is sheeted out.  I have mixed PVA with white paint to coat the walls and the ceiling, this should seal the walls before i paper them.


 I built my workbench along the back wall, its 2 feet deep (600mm) and just under 10 feet long (3000mm).  I plan to use this to build the layouts i want to take to shows. I have started to build two storage shelves above.  Below the workbench i will be building more storage space, but i have my new bathroom suite in storage there until i can get it installed in a few weeks.


I am searching the internet just now for ideas on a workstation for me, how to lay it out, and what height to put it at.  First i need to get rid of the bathroom stuff. than i can complete the storage and work space

Tuesday 26 May 2015

FINALLY.. I have a Workshop


FINALLY.......

   I moved into my house about 9 years ago, the back garden sloped from the back door all the way up to the back fence maybe a 3 meter rise.  about 3 years ago i started to re-level and change the garden into a more useable space.

Finally this weekend all the hard work is over, The garden is all level, paved, artificial grass down, and most importantly for me, the workshop is finished.
  After taking all the trees down out the back and the old shed i managed to build myself a 4 meter by 3 meter workshop.  I had my back door, kitchen window and a miss measured bathroom window to use.


 The main construction in 4x2 timber for the floor with 18mm waterproof Chipboard floor. Walls are 3x2 CLS covered with 16mm weatherboard.  The roof is 18mm chipboard with 3 layer torch on felt, there is also about a ton on silicone......


On the inside i have sheeted it out with 12mm chipboard, walls and ceiling, there is full rockwool insulation in the roof and walls.  The power has been ran straight from the Main fusebox in the house, to a fuse box in the shed.  There are 4 double sockets with 2no. USB ports incorporated into each.  2 along the back wall where my work station will be, 1no. under the window at the front and one under the fusebox.  There are two 600mm x 600mm LED lighting panels on this inside.


So this is it my new workshop/summer house.  I now need to design the workstation at the back, i am not sure how i will set the units and worktops of, i will maybe do a little research on the web on the best way to have it.

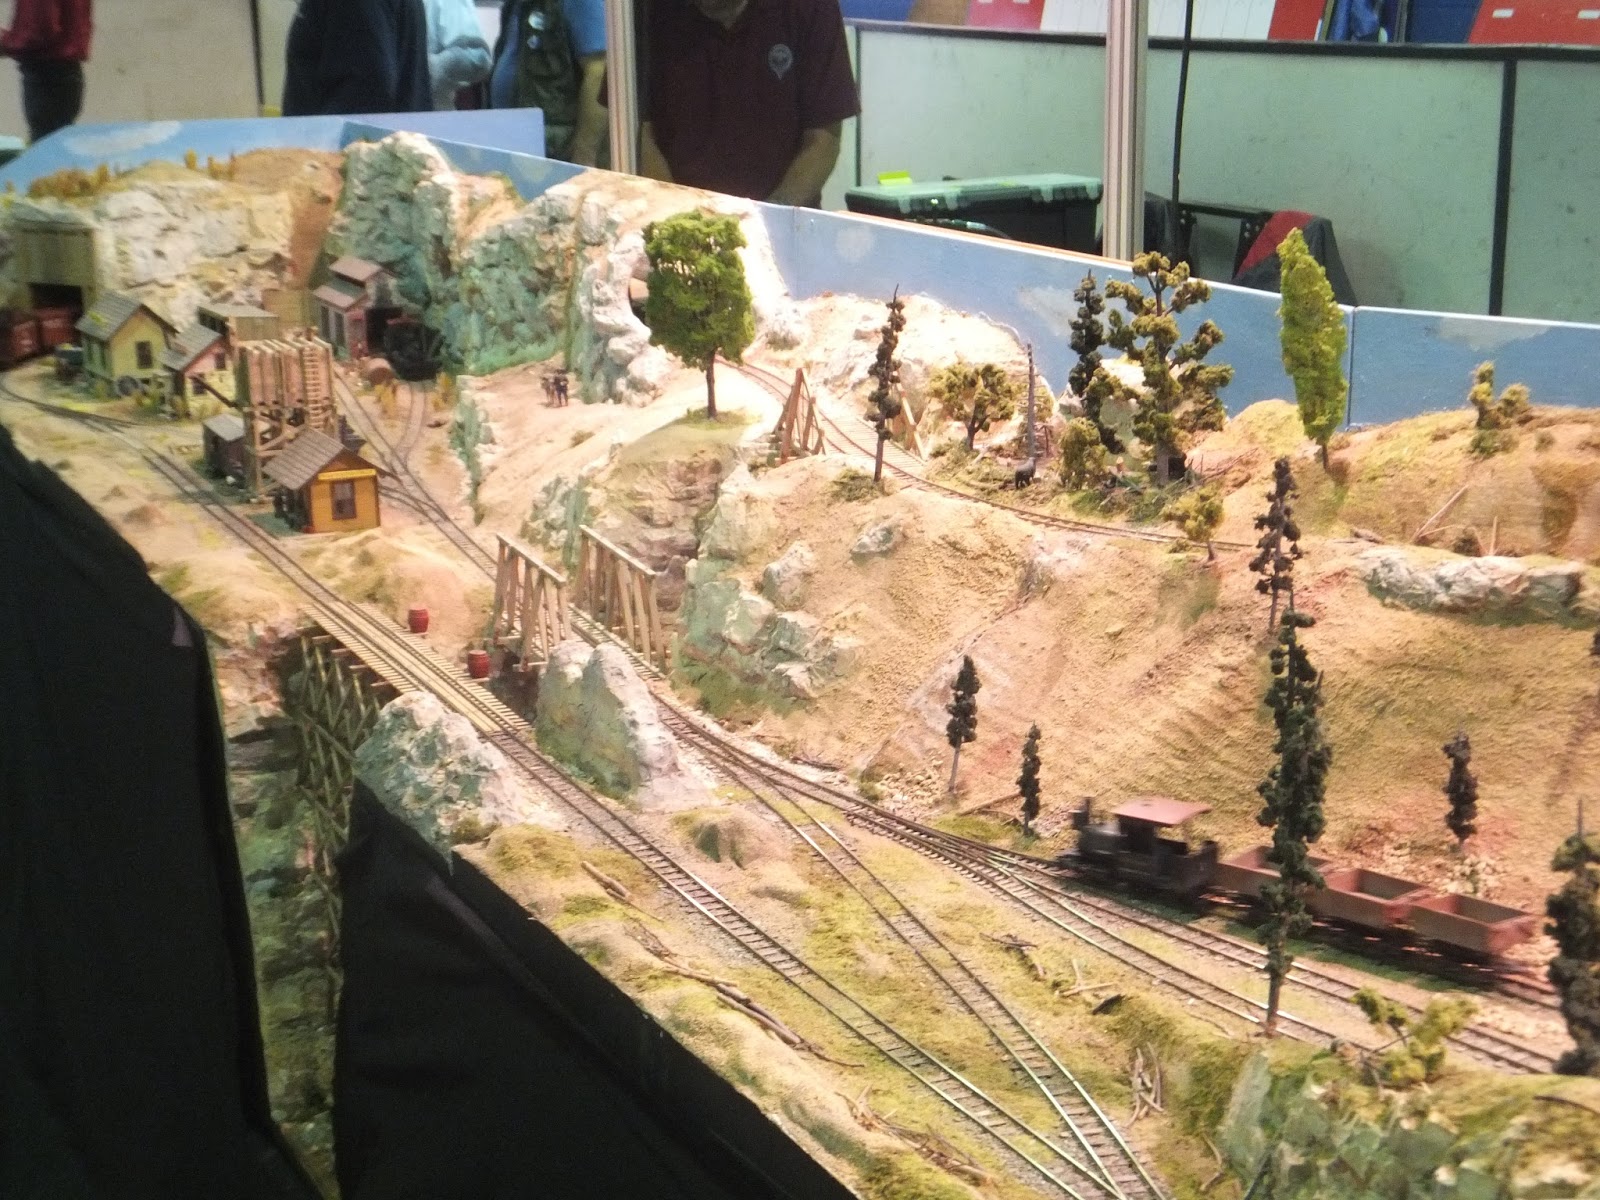
My plan is to build small layouts that can be taken to local shows, I have a few ideas on what i want to built, but i need to sort my work benches out first.

I am very pleased to be sitting where i am just now